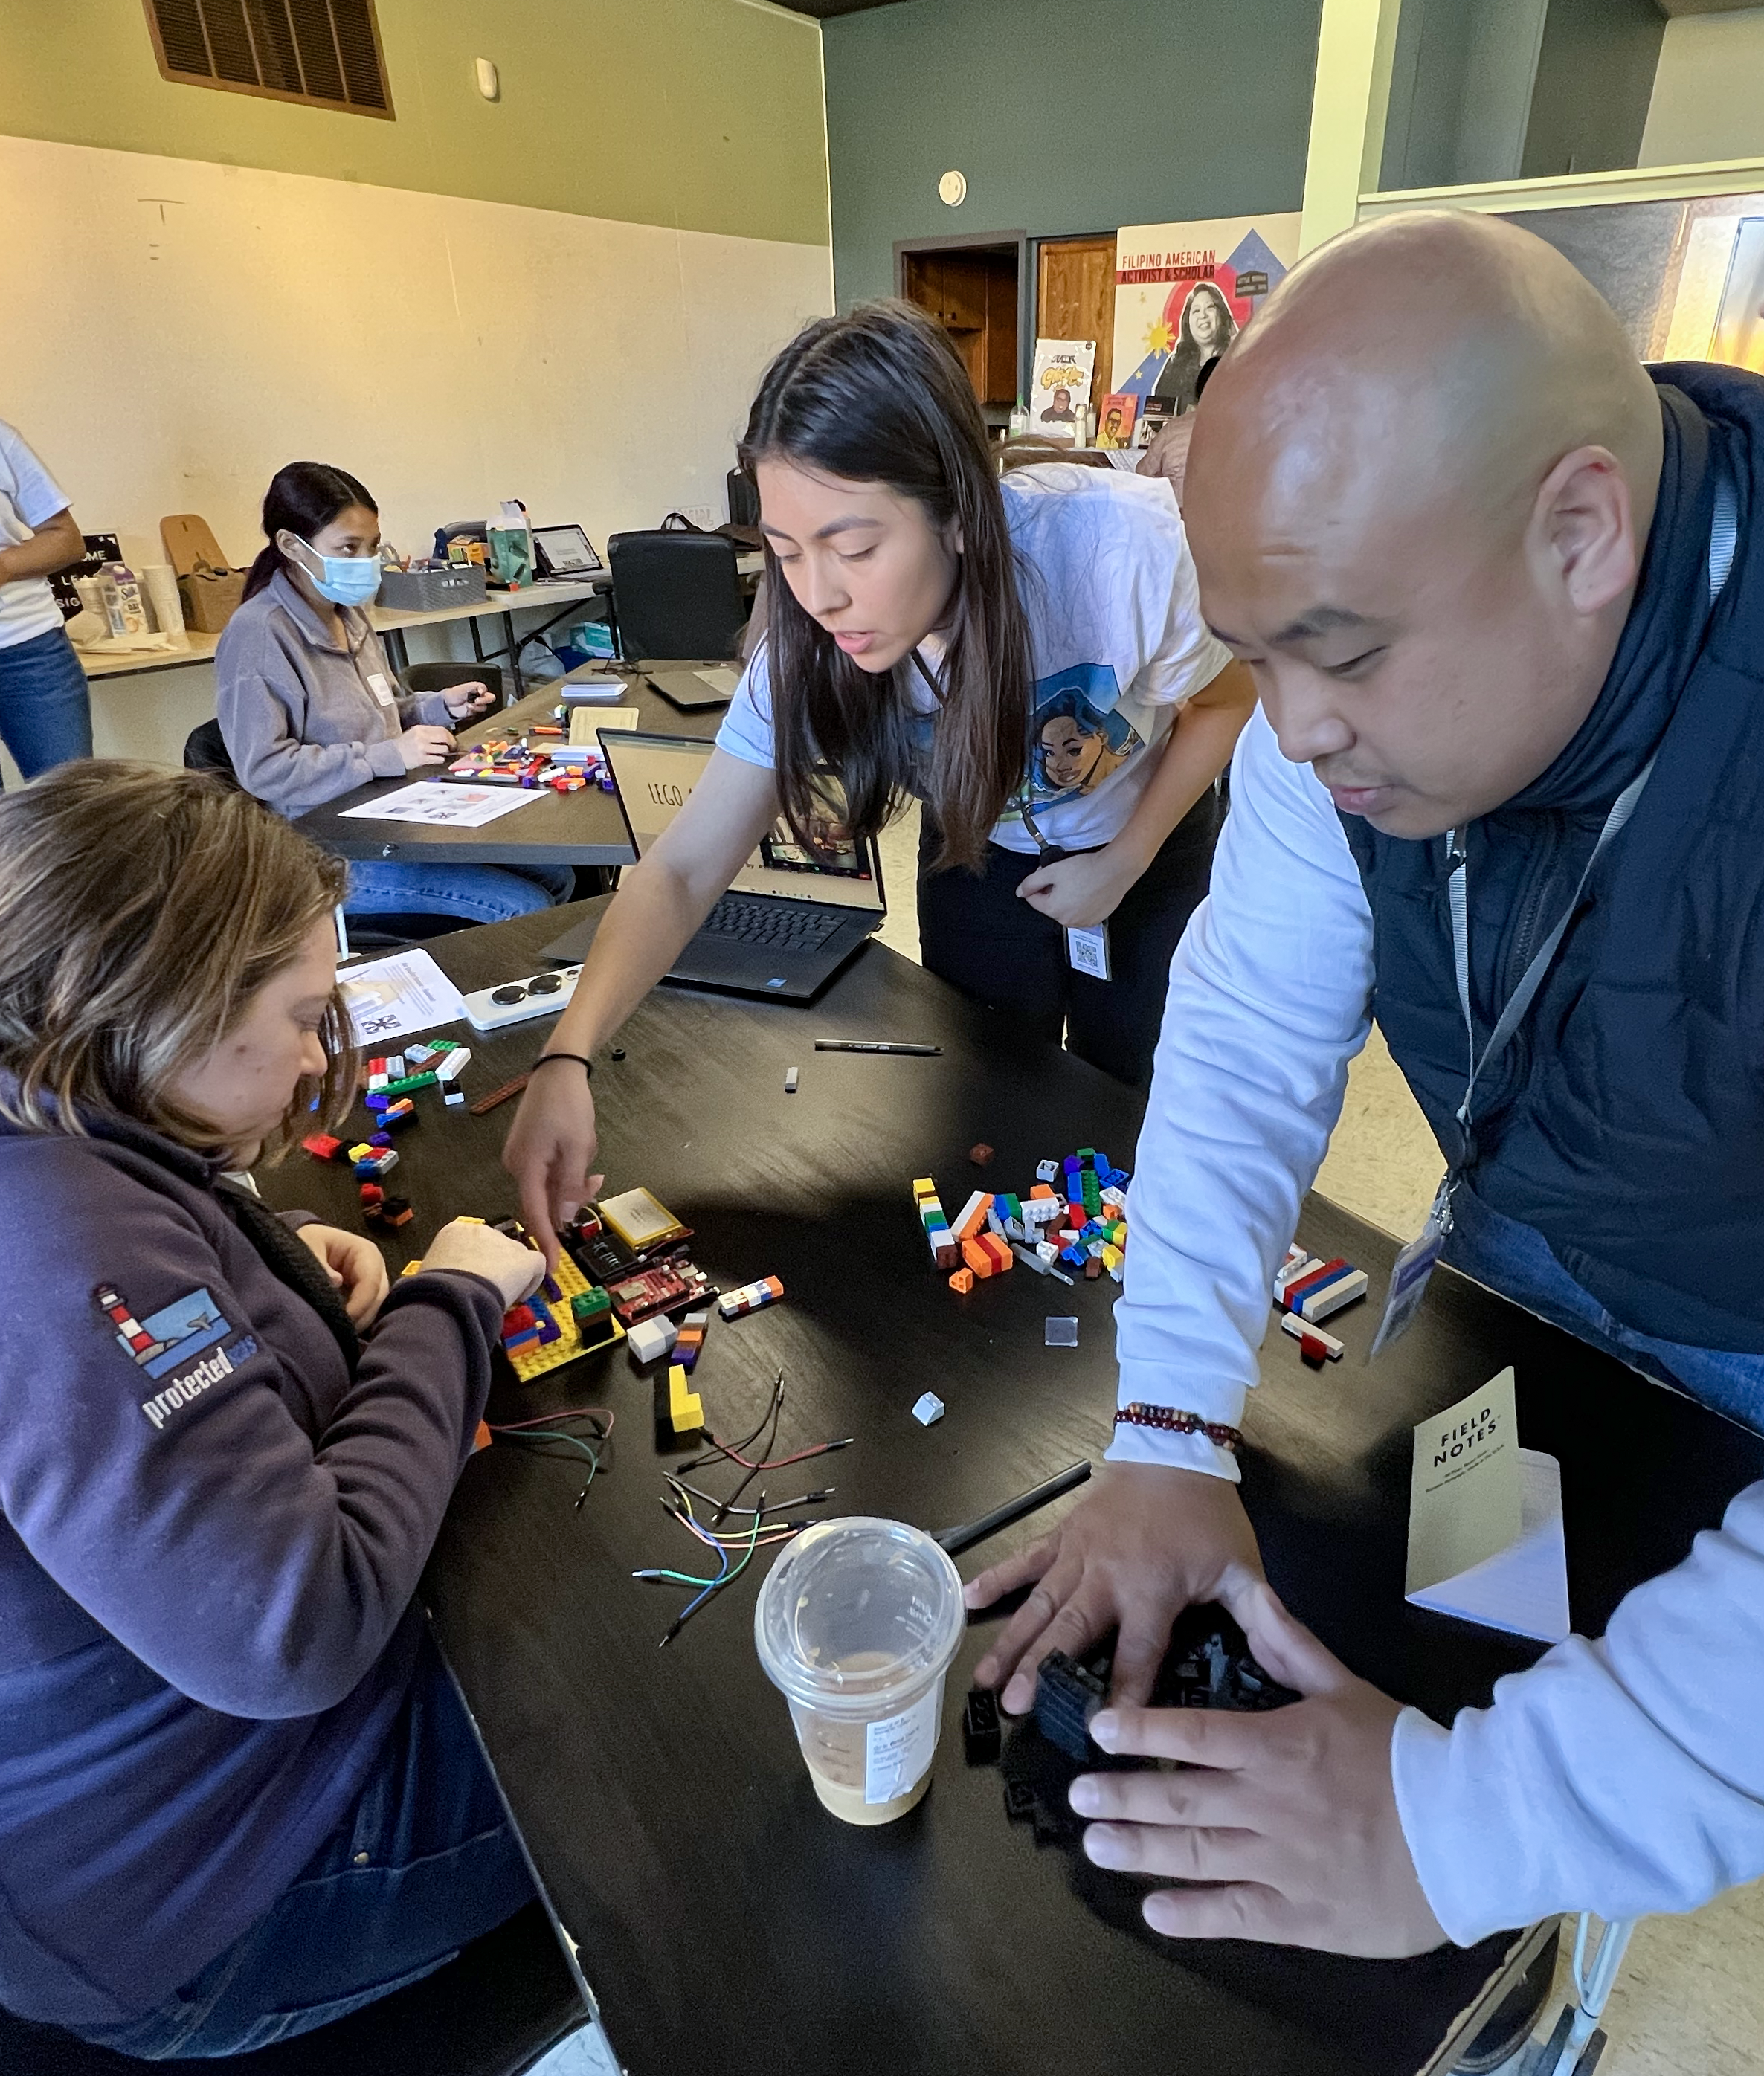
The Workshop
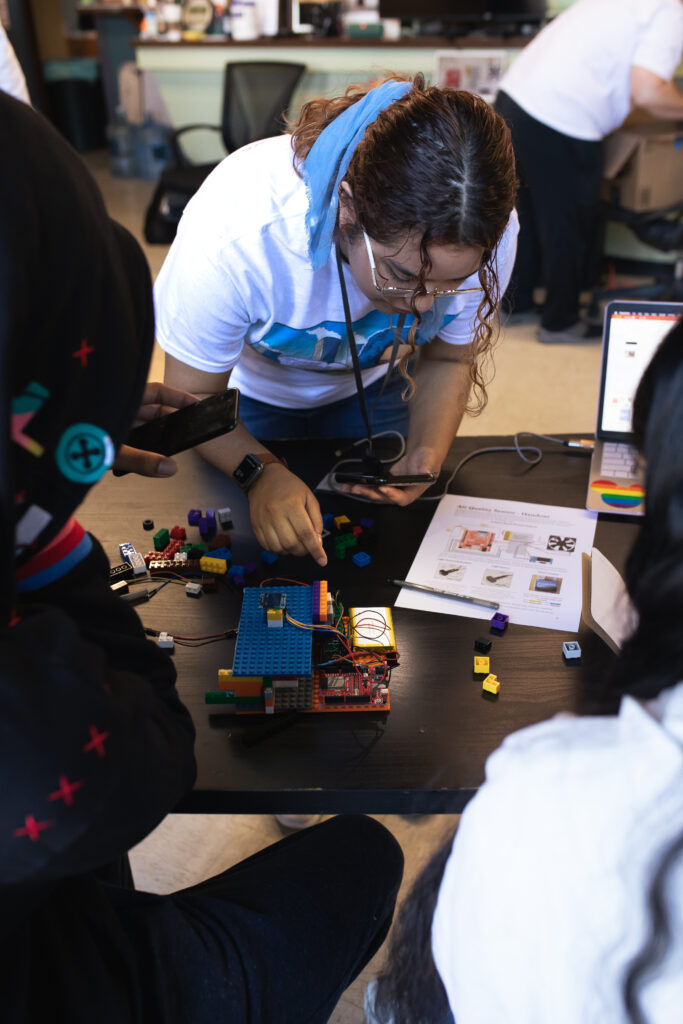
The Lego Air Quality Workshop guides participants on how to build their own sensor from basic building blocks! With LEGOs and an Arduino board, the workshop inspires participants’ curiosity about their local air quality, and empowers them to be advocates within their communities and future environmental leaders.
The sensor uses a technique used by many low-cost sensor technologies with light scattering measuring particle air pollution. While the sensor does not provide research-grade air quality data, its aim is to provide environmental education and youth empowerment. Through this workshop, young people will develop technological literacy, critical thinking, and problem-solving skills they can take with them to school and beyond.
Hands-on, interactive science education is an opportunity to apply technical knowledge, develop leadership and engineering skills, and encourage participants to pursue STEM-related fields in order to solve real world problems.
We are partnering with Little Manila Rising — an organization based in Stockton, CA — to organize and conduct a workshop with their Environmental Justice Youth cohort.
Follow the instructions below if you’d like to build it yourself, or contact info@airguardian.org to discuss conducting your own workshop!


Build your own!
| DIY LEGO Sensor | |
|---|---|
| Typical Time Frame: | 10 min to prep 20 min to build 10 min to wire 30 min to program 15 min to test |
| The LEGO Sensor is intended as an instructional tool. This is an advanced version of a similar LEGO Sensor created by the University of Utah. Some skill at electronics, soldering, and programming will be helpful if you are working by yourself. | |
| Additional Documents: | Microcontroller Programming Arduino IDE [Public] Electronics_Presentation [Public] LEGO Sensor Data User Interface [Template] Arduino Programming Files [Public] |
| For additional information, contact info@airguardian.org. | |
Instructions
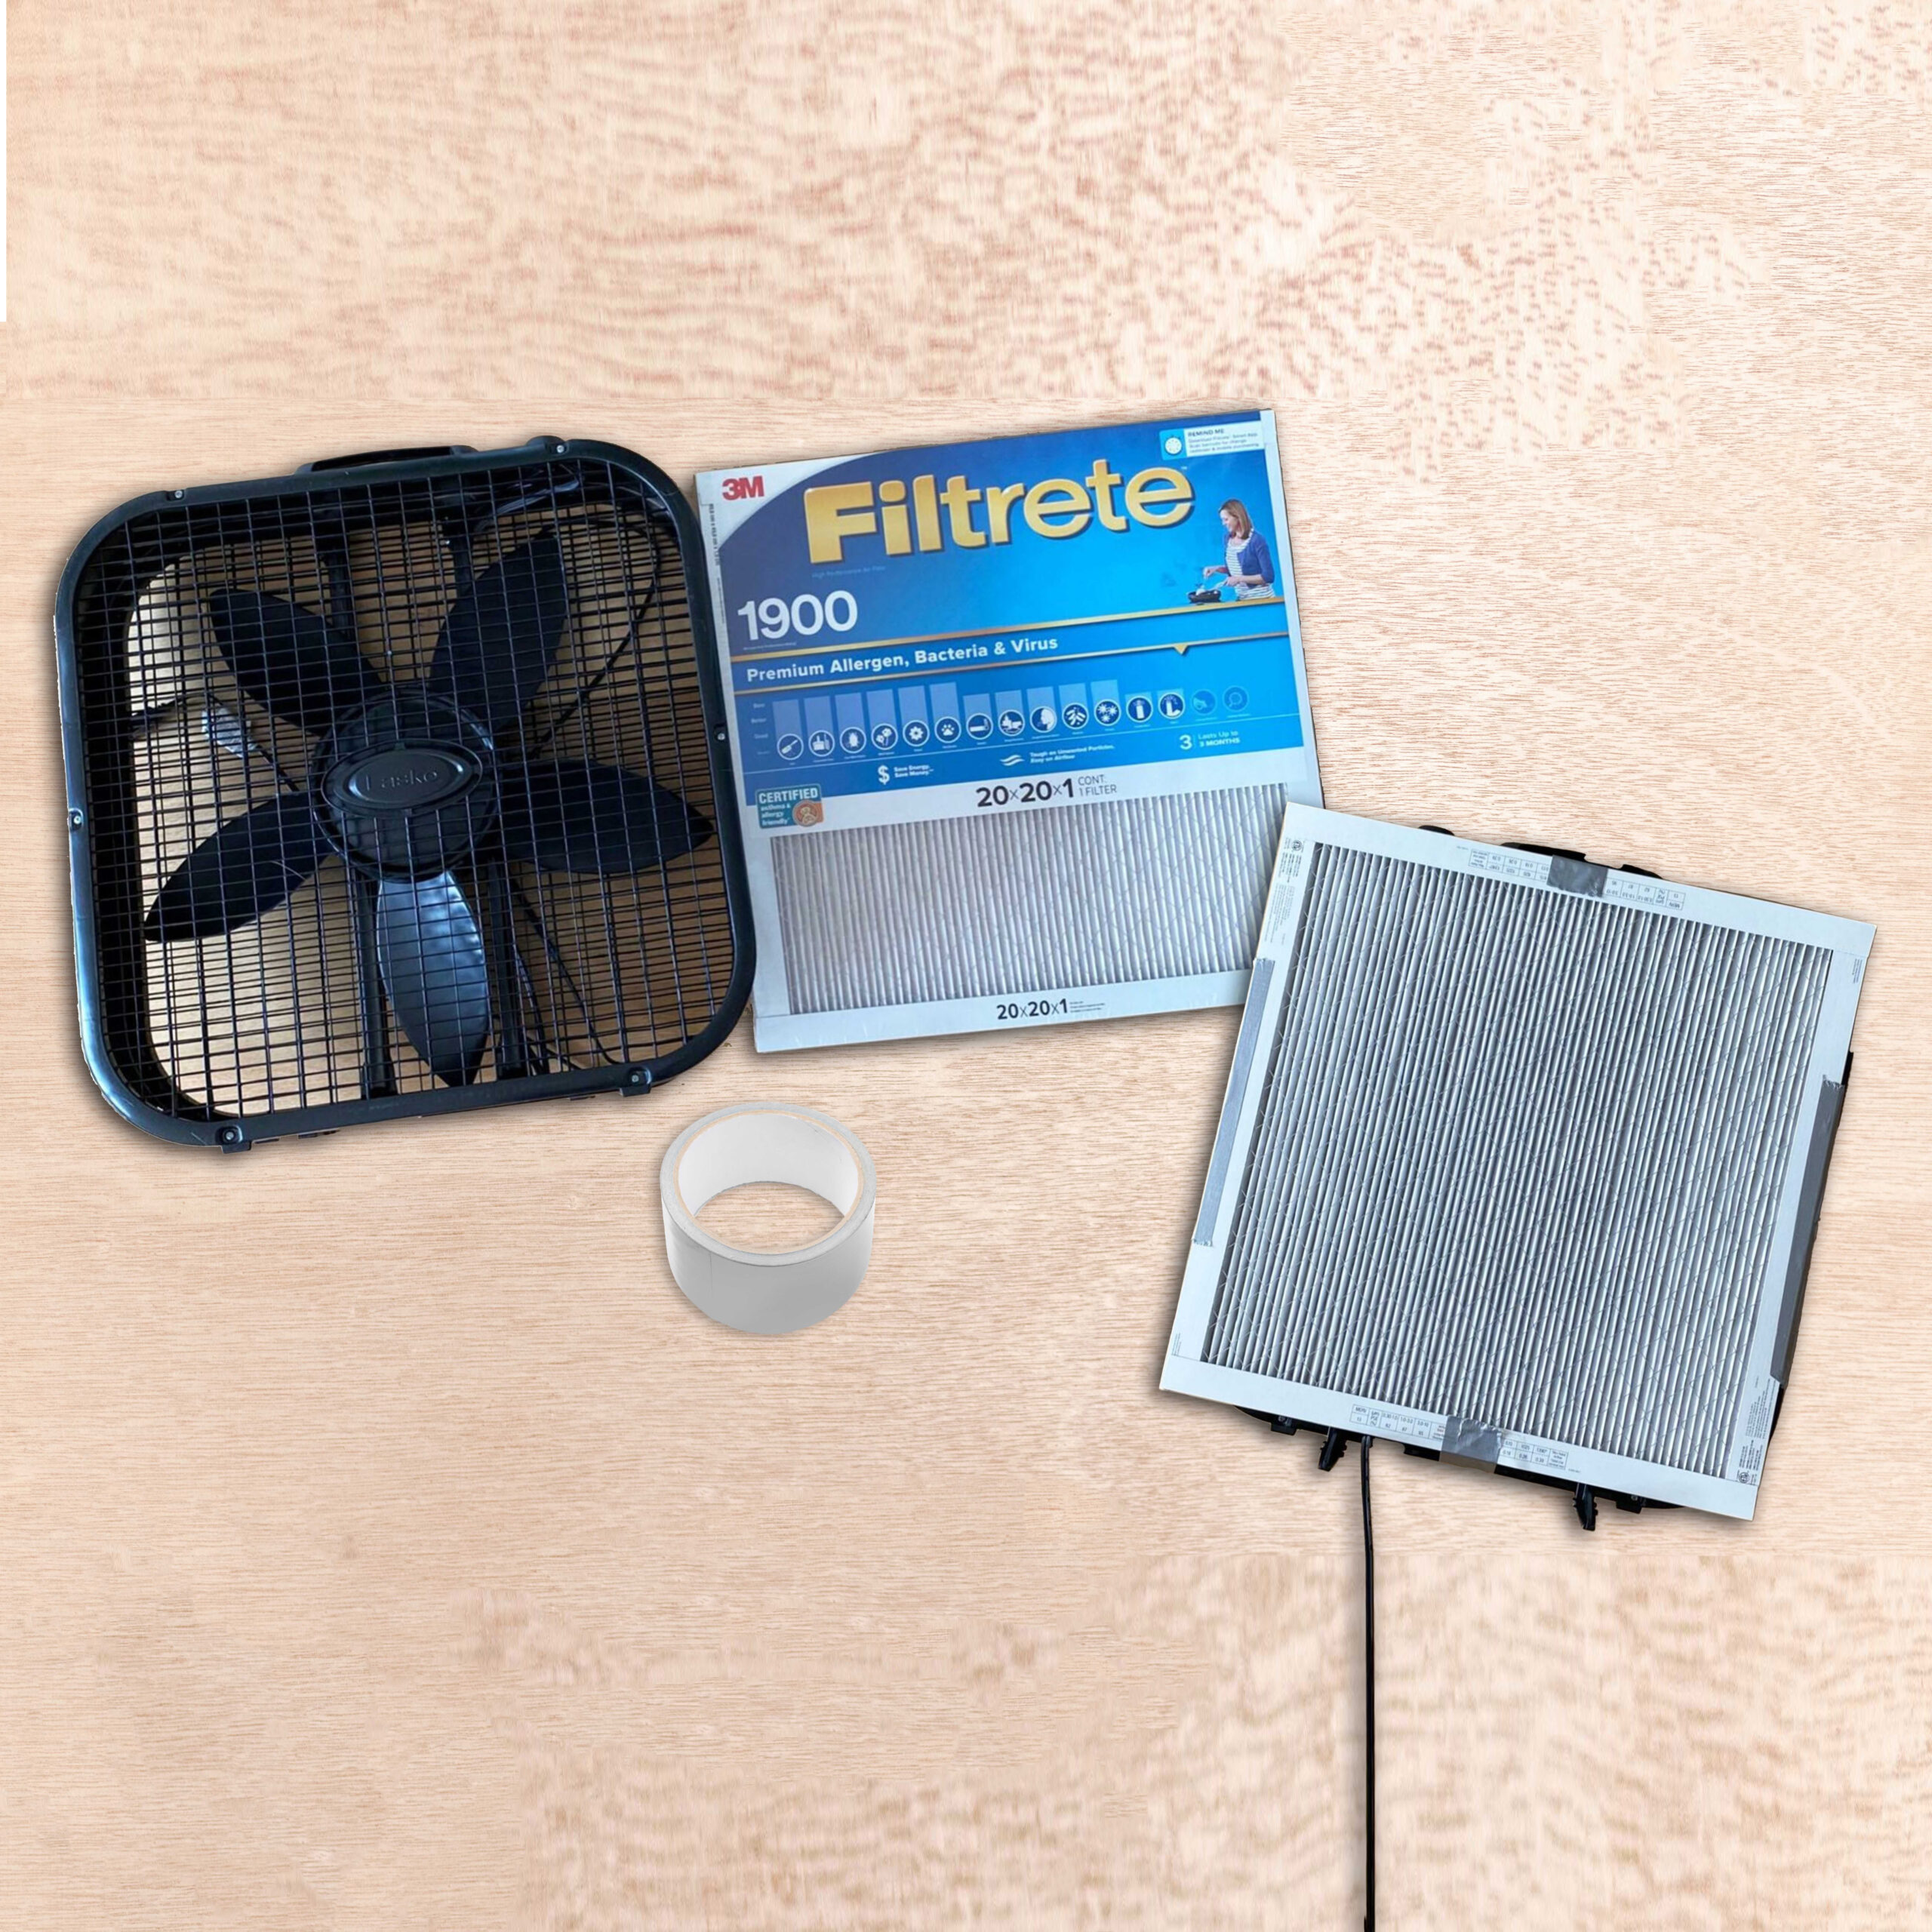
- Collect all the necessary materials.
- Design the light path. Be as creative as you’d like, below is a recommendation of what it can look like.
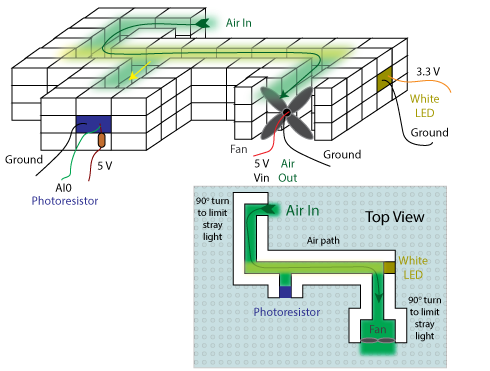
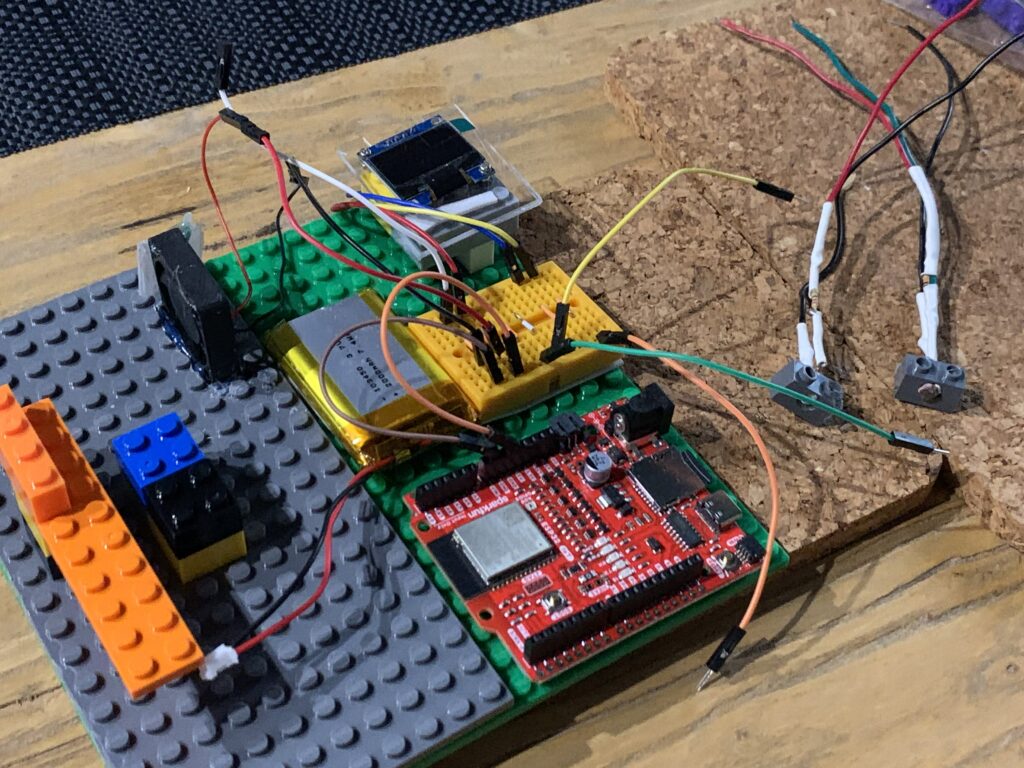
- Set up the fan, arduino board, and breadboard on the baseplate.
- Prepare the white LED and photoresistor LED by soldering the resistors onto the red power wire.
- The photosensitive resistor should be wired with a 10kΩ resistor.
- The white LED should be wired with a 100Ω resistor.
- For more info about resistors: check out Electronics_Presentation [Public]
- If you do not solder the resistors, the components will overheat!
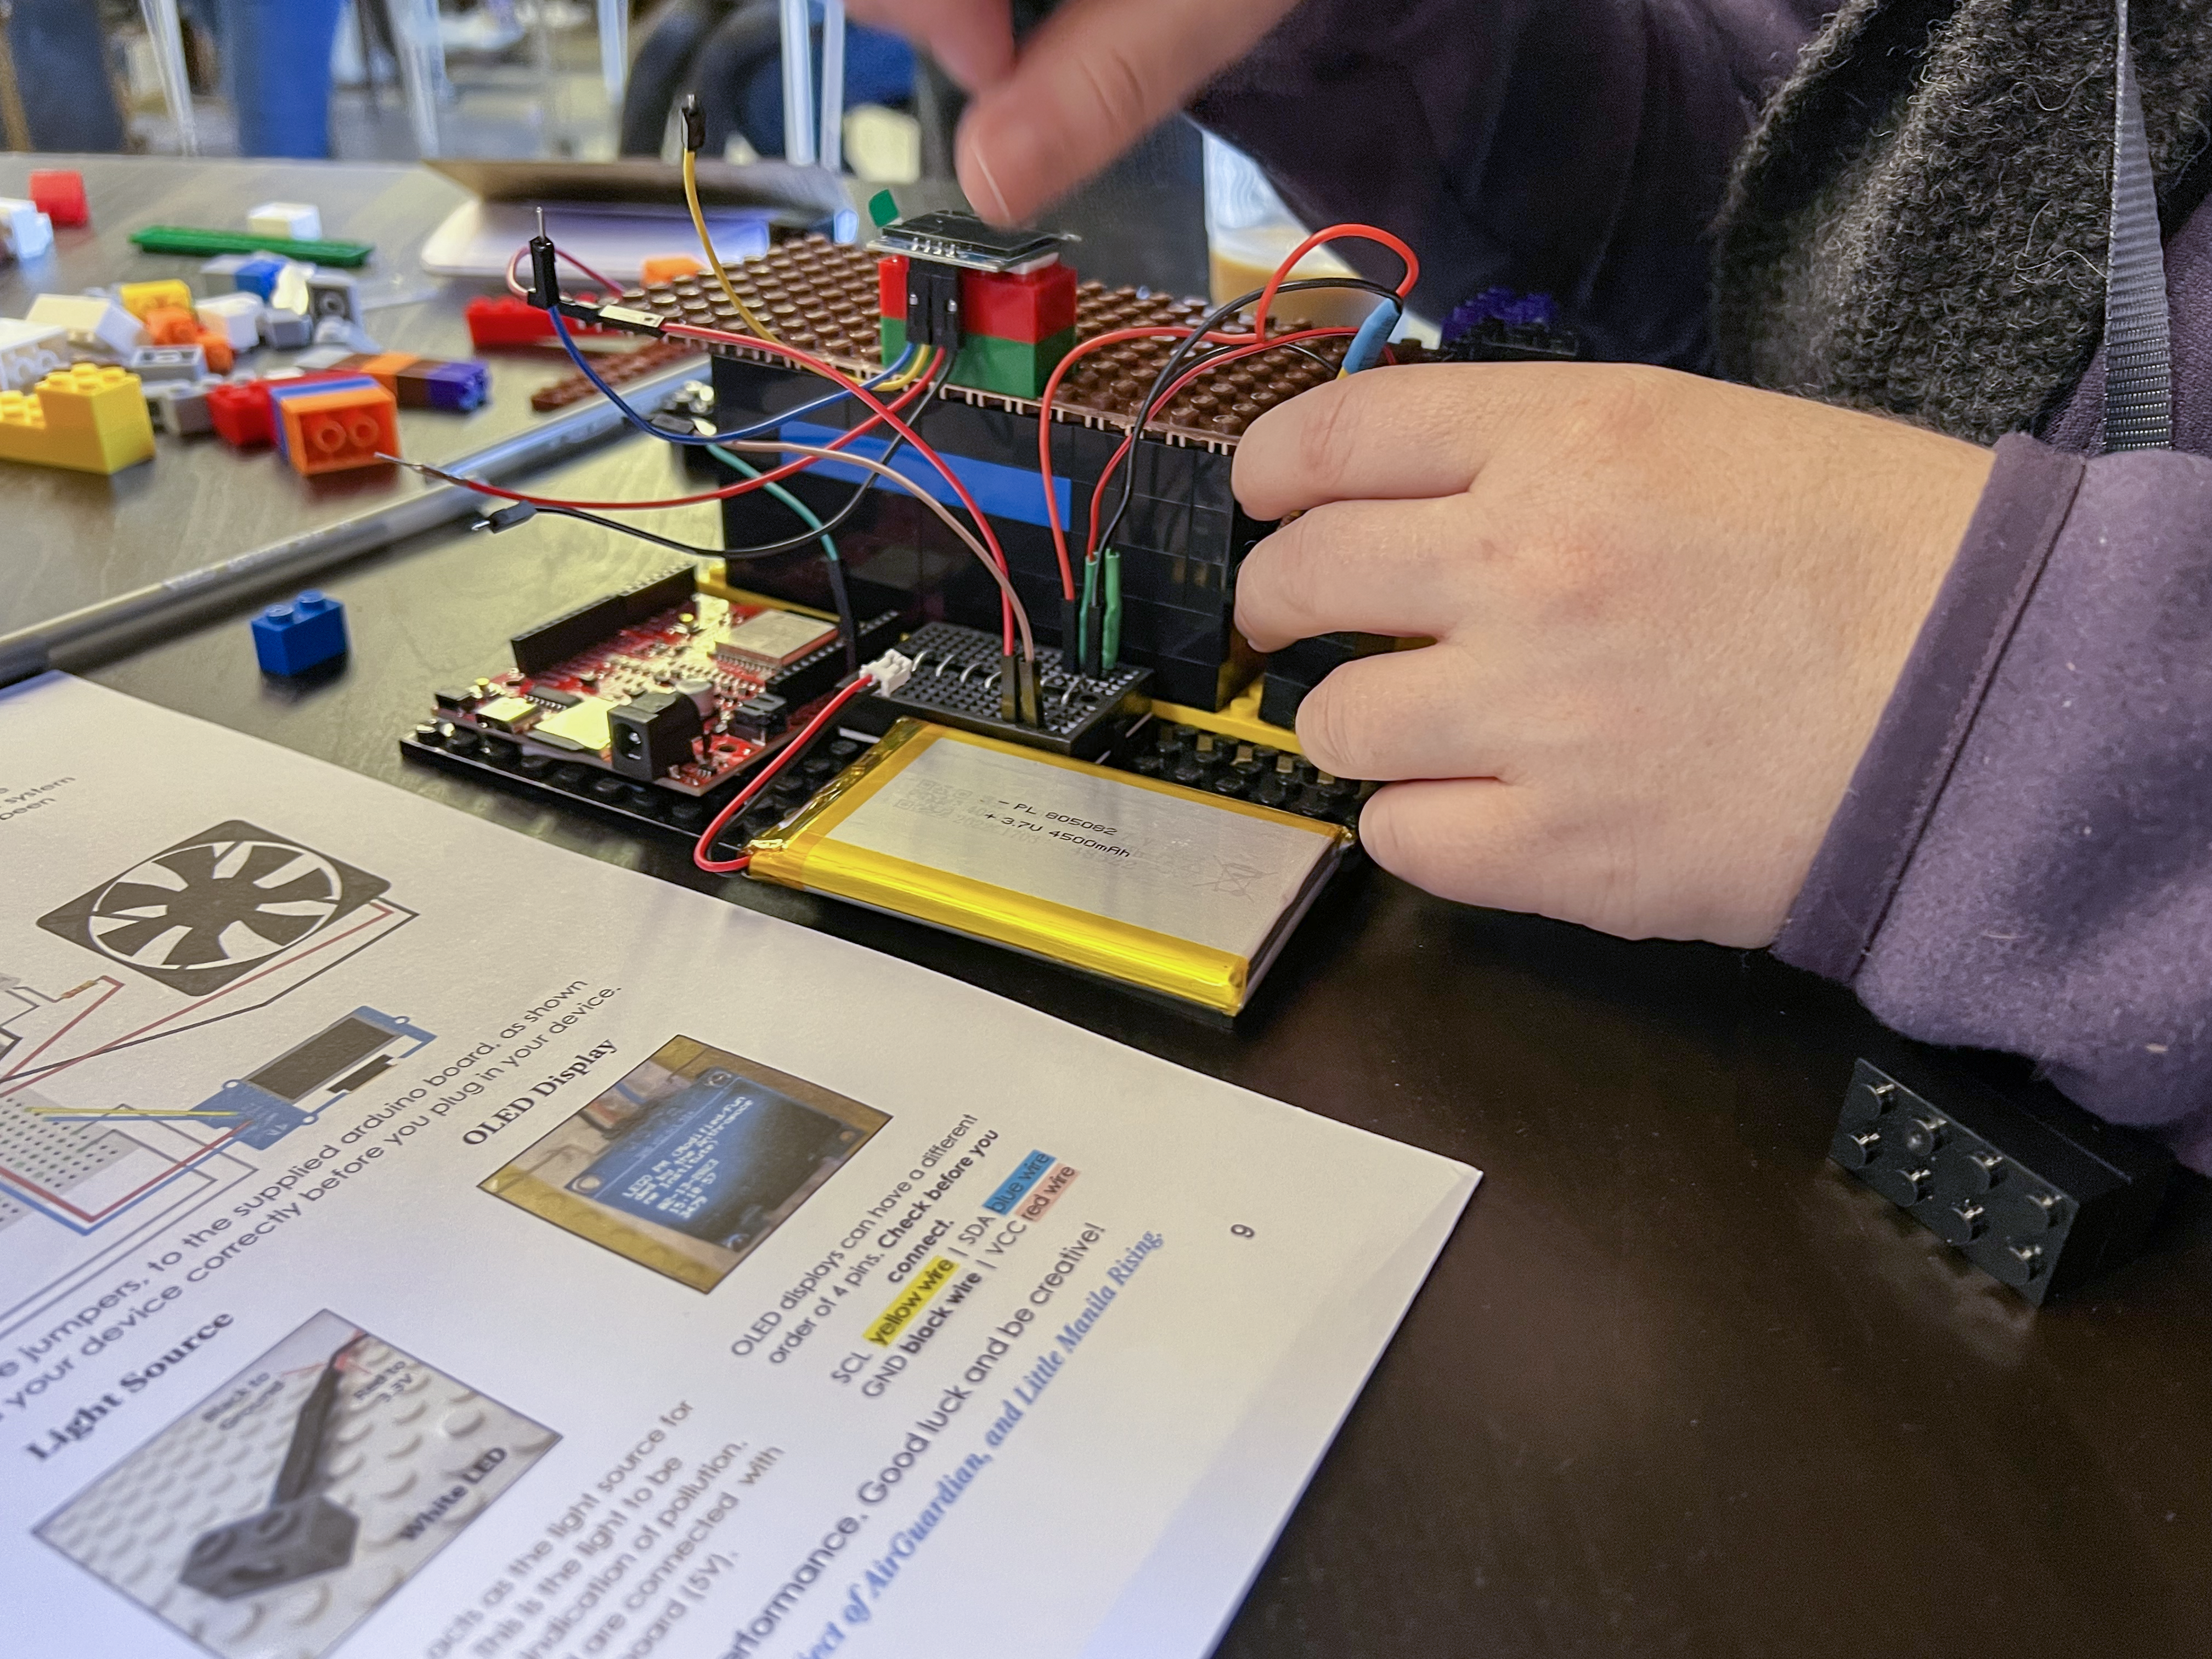
- Insert the photosensitive resistor and the LED into the LEGO bricks with a hole.
- Build the light path with the remainder of the LEGOs.
- Connect all the wires according to the diagram below.
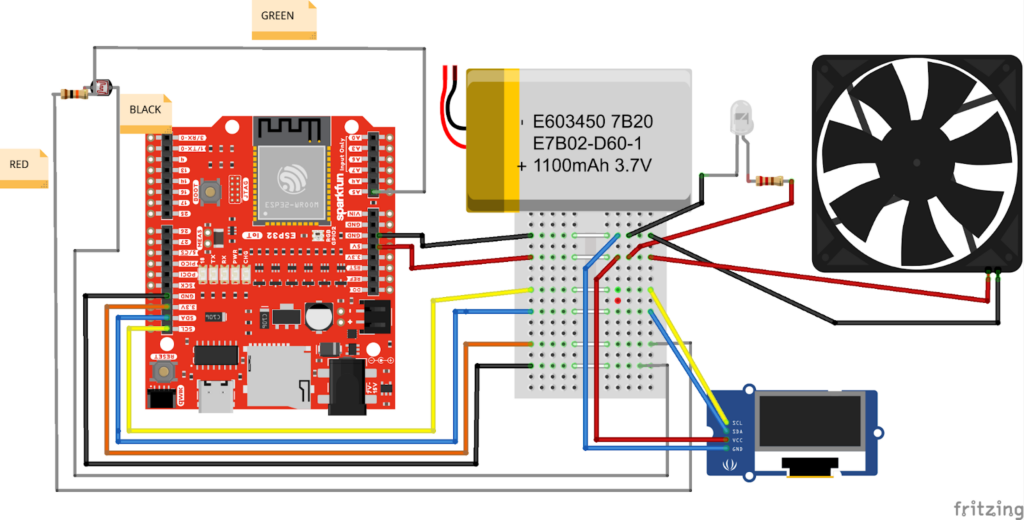
- Connect the LiPo battery.
- Check if there are any components overheating or not working correctly.
- For example: the white LED doesn’t turn on, the fan is not spinning, the OLED screen remains off.
- If any of the above happen, turn off the device and carefully check all the wiring.
- If you are programming the sensor yourself, follow these instructions: Microcontroller Programming Arduino IDE [Public] to install the free Arduino IDE software, and use this sketch file: Anthropocence_ParticleCounter.ino.
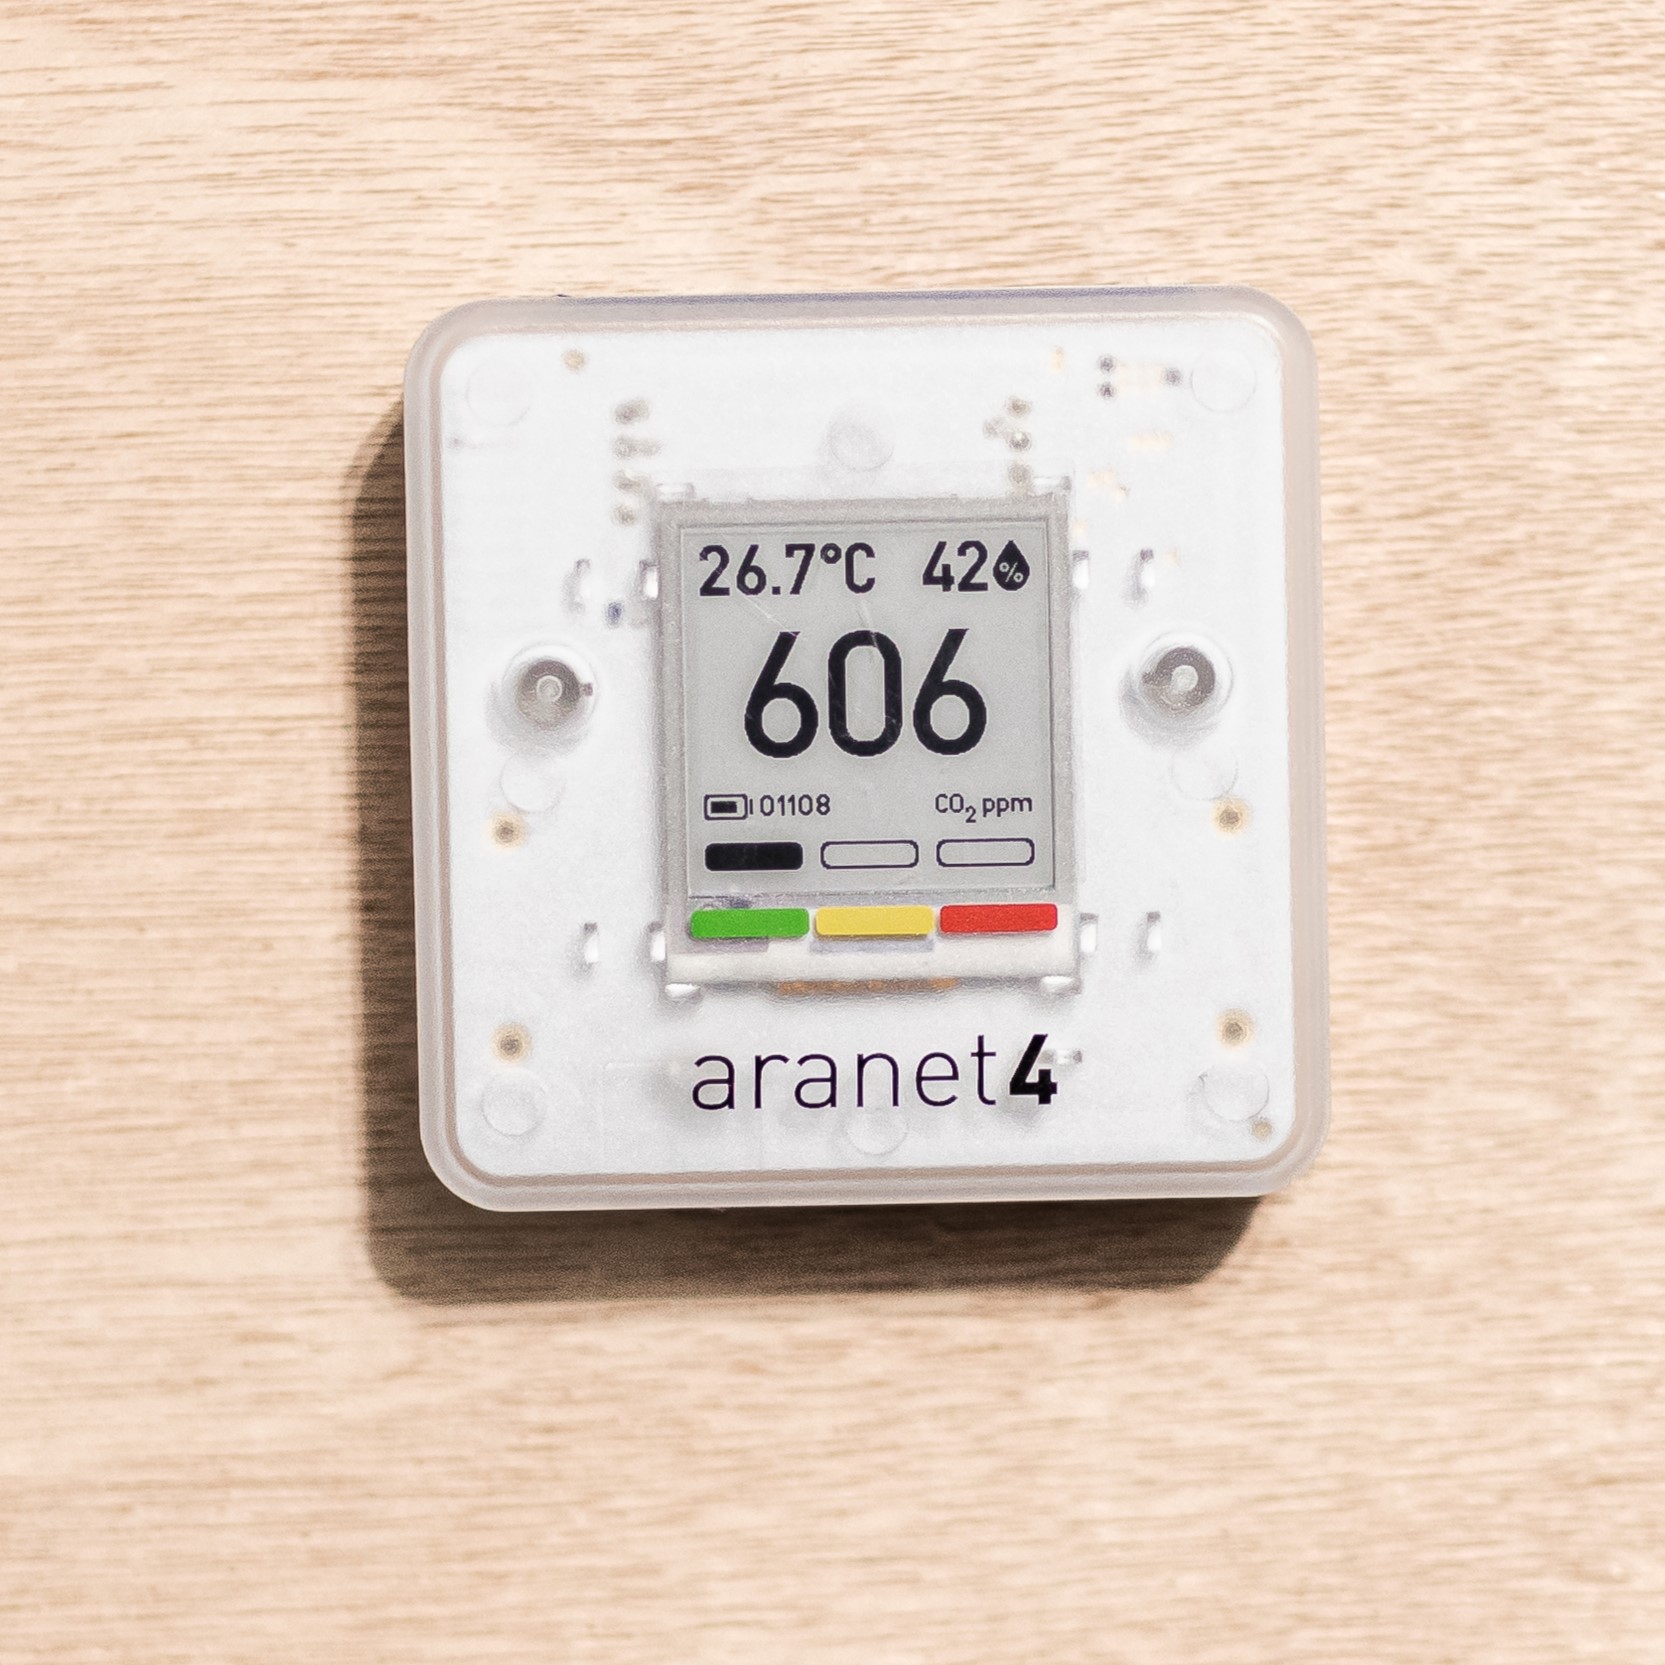
- Once everything is plugged in and programmed, you can start collecting measurements! The OLED display should have this information displayed:
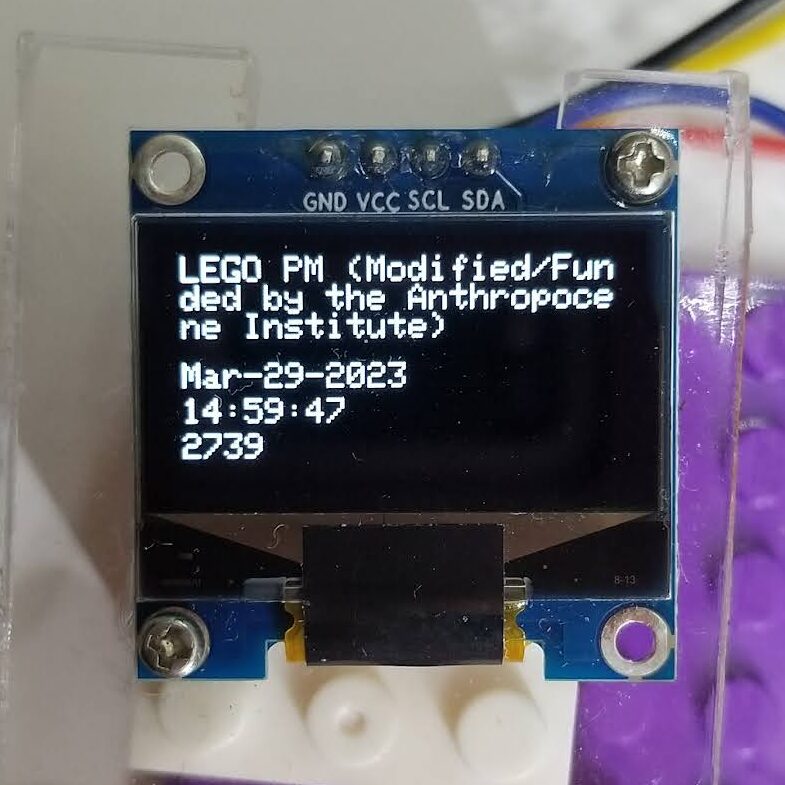
- The OLED display will be set to your network time, and the instrument will take measurements every 10 seconds and display them on the OLED screen.
- The measurement is inversely proportional to the amount of particles.
- The higher the measurement, the better the air quality.
- The lower the measurement, the worse the air quality.
- You can review those measurements by taking out the micoSD card on the Arduino board and loading it onto a laptop.
- Here is a data analysis spreadsheet for your use:
- Note: Once the micoSD card is out of the Arduino board it is no longer saving the measurements.
Congrats! If you have followed all the above steps, you should have a working LEGO air sensor!
If you are having issues, feel free to contact the AirGuardian team at info@airguardian.org or on social media.
Acknowledgements
These teaching modules were originally developed by AIRU at the University of Utah, with sponsorship from the National Science Foundation and the Rocky Mountain Power Foundation. The LEGO Air Sensor Workshops were modified and funded by the Anthropocene Institute.